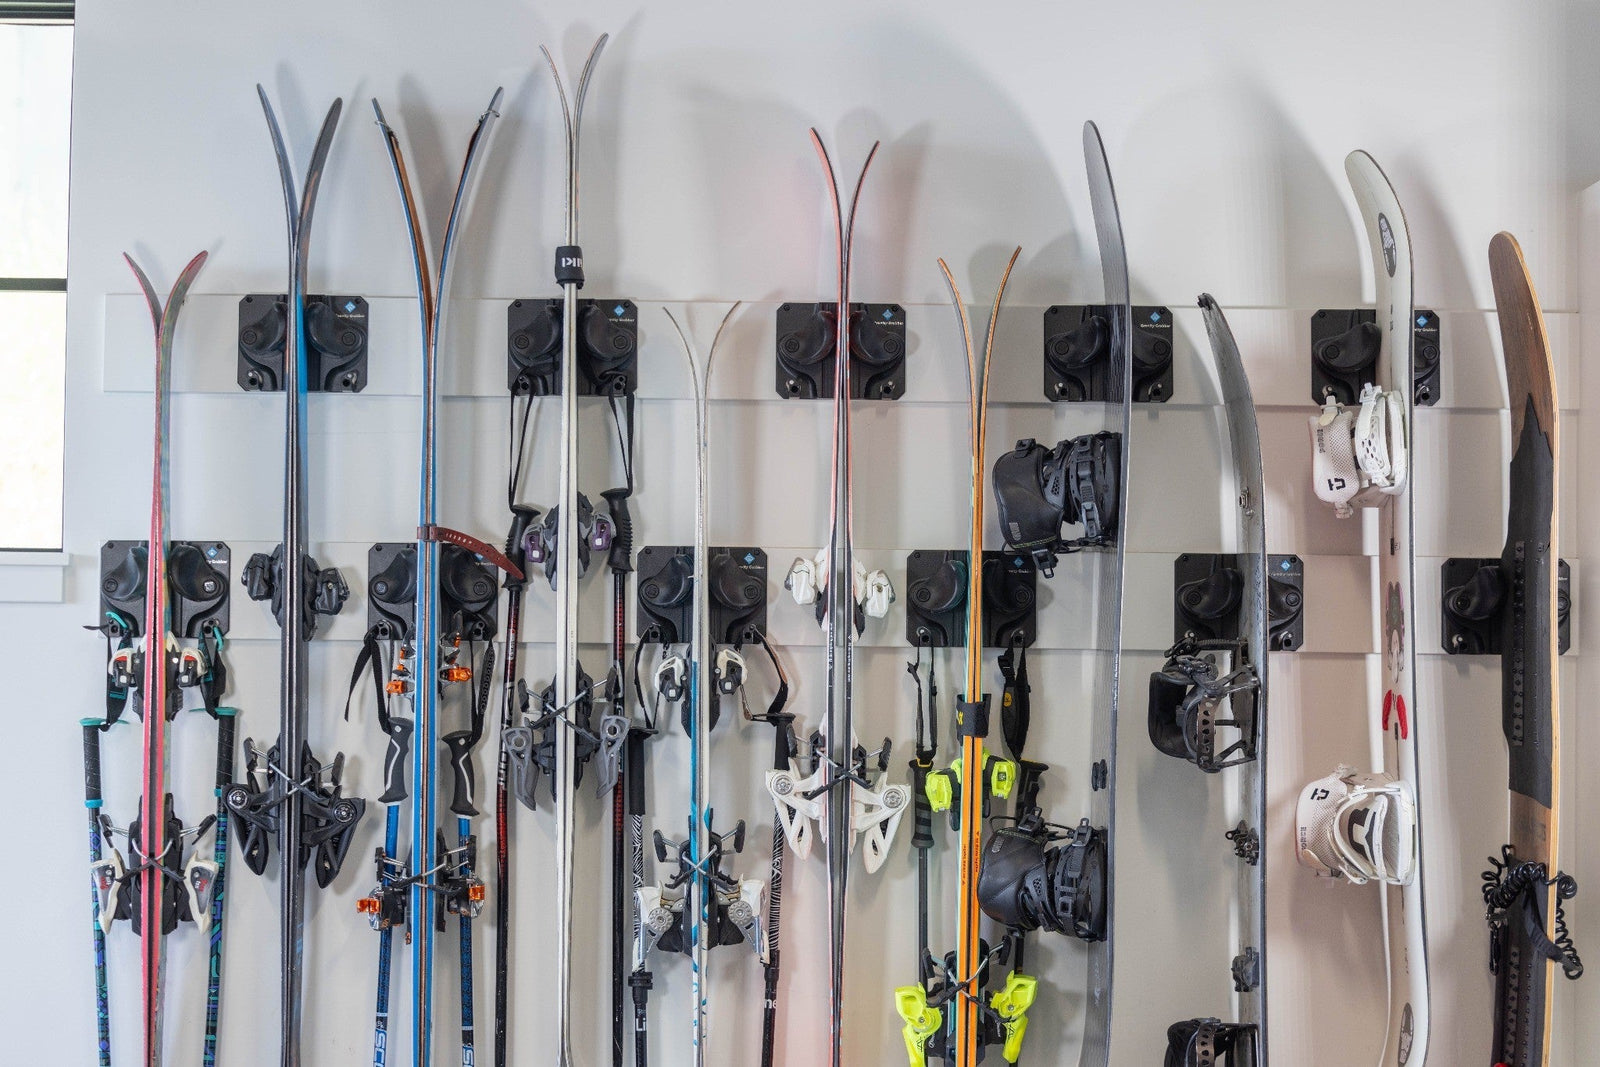
If your garage turns into a winter gear explosion every season, you’re not alone. Skis, poles, boots, helmets, and goggles take up serious space—and without a system, they end up leaning in corners or buried in bins. A dedicated garage layout for ski gear not only protects your investment, it saves time every trip to the mountain.
Here’s how to create a garage gear layout designed specifically for skiers, complete with layout tips, storage solutions, and space-saving tools like Gravity Grabber.
Step 1: Designate a Dedicated Ski Zone
The key to organizing ski gear is keeping everything together in one area. Choose a garage wall that:
-
Has enough height to store skis vertically
-
Is near the door or car for easy access
-
Allows for a small mat or bench nearby for boot changes
Keep the layout tight and efficient—think of it as your home ski locker.
Step 2: Use Vertical Wall Storage for Skis and Poles
Mounting your skis vertically is the most space-efficient way to store them. Gravity Grabber is ideal for this because:
-
It grips skis and poles securely without damaging edges
-
It fits different ski widths and lengths (powder, carving, kids’ skis)
-
It can be stacked or spaced side-by-side depending on your wall
Add Gravity Grabbers for poles below or beside the skis to keep everything in a clean line.
Step 3: Add Open Wall Storage for Helmets and Boots
Mount a simple shelf or cubby system to hold ski boots, gloves, and goggles. Alternatively:
-
Use heavy-duty wire baskets for boots (with drainage space)
-
Hang helmets on pegs or hooks next to each skier’s rack
-
Install a boot dryer nearby if you have access to power
Keeping helmets and goggles at eye level prevents scratches and fog damage.
Step 4: Include a Drying or Prep Zone
Ski gear comes home wet. Plan for it by adding:
-
A floor mat or tray beneath the boot area
-
Wall hooks or side pegs (Gravity Grabber includes these) for hanging wet gloves or face coverings
-
A towel or microfiber cloth storage spot for wipe-downs
This section helps extend the life of your gear and keeps the rest of the garage dry.
Step 5: Group by Skier or Category
If you have multiple skiers in the house:
-
Use labels or color-coded gear racks
-
Assign one Gravity Grabber per person
-
Group by type: adult skis vs. kid skis, alpine vs. touring
This makes it easy to grab and go on powder days.
Step 6: Make It Seasonal
In the off-season, don’t pack everything into bins. Gravity Grabber allows you to:
-
Leave skis mounted securely on the wall for display and air circulation
-
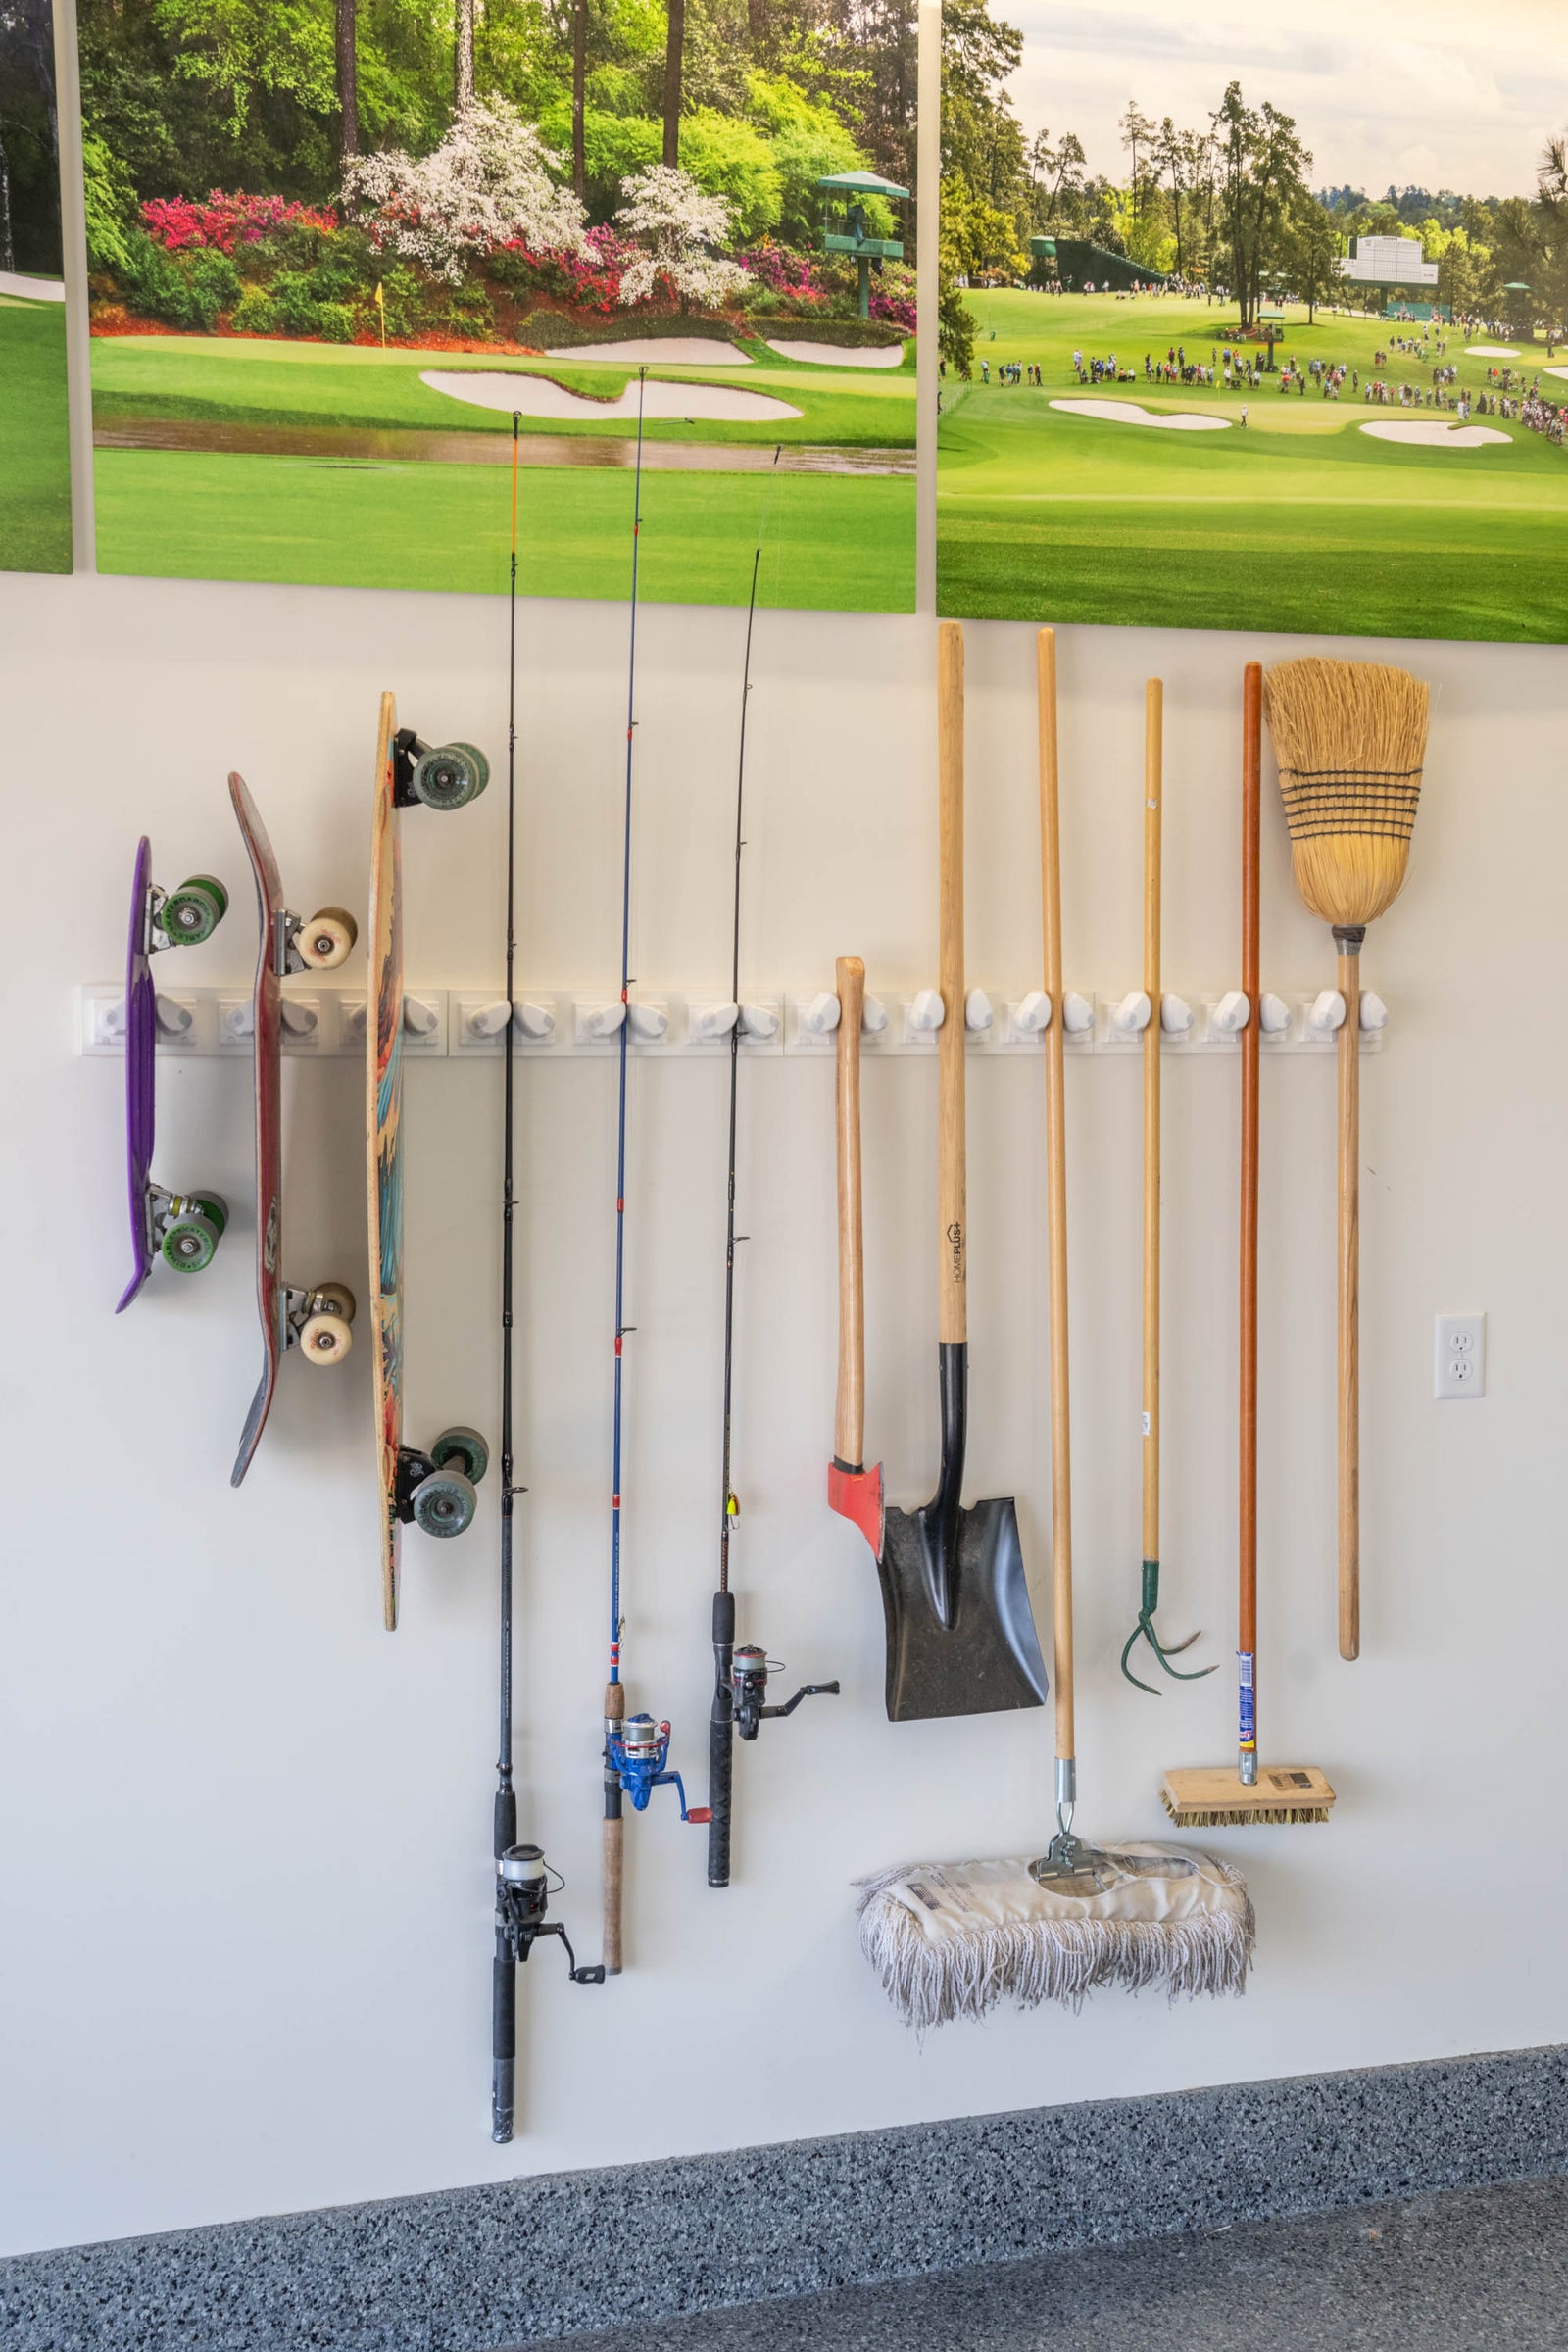
Reallocate nearby racks for summer gear (paddles, rakes, tools)
-
Keep poles and accessories up and out of the way
This way, your layout works 12 months a year—not just winter.
Why This Layout Works for Skiers
Ski gear isn’t like general tools or sports equipment—it needs dedicated protection, especially for edges, bases, and bindings. A vertical wall layout using padded, adjustable systems like Gravity Grabber:
-
Prevents warping, rust, and base damage
-
Keeps gear clean and visible
-
Reduces stress on storage days and early mornings
No leaning. No stacking. No clutter.
Wrap-Up: Build Your Home Base for the Slopes
A smart garage gear layout helps you spend less time unpacking and more time skiing. Whether you ski solo or with a full family, organizing your wall with dedicated vertical storage, open accessory bins, and durable mounts like Gravity Grabber is the best way to keep your setup ready for the next snowstorm.


