
If you’ve ever tripped over skis, paddles, or garden tools in your garage, it’s time for a gear wall. A well-designed gear wall transforms cluttered floor space into an organized vertical system that stores outdoor, seasonal, and hobby gear efficiently—and keeps everything ready for use.
Here’s how to design a gear wall from scratch, with expert tips on layout, spacing, and flexible storage solutions like Gravity Grabber.
Step 1: Audit What You Need to Store
Start by listing every item you want to store on the wall. Include:
-
Seasonal gear: skis, snowboards, paddles, sleds, fishing rods
-
Daily-use items: scooters, skateboards, bikes, balls, helmets
-
Utility gear: rakes, shovels, mops, extension cords, ladders
-
Accessories: gloves, goggles, backpacks, pole straps
Categorize your gear by use case and season to help determine zones in your layout.
Step 2: Choose the Right Wall
Pick a wall that’s easily accessible but out of the way of vehicles and doorways. A gear wall should:
-
Be near the entrance you use for activities
-
Have open floor and vertical space
-
Be stud-friendly for secure mounting
If needed, clear out old shelves or hooks that aren’t being used efficiently.
Step 3: Define Zones on Your Wall
Divide the wall into logical sections based on categories:
-
Top Zone: long items like skis, paddles, fishing poles
-
Middle Zone: daily gear like skateboards, balls, bags
-
Bottom Zone: heavy tools or kids’ gear for easier access
-
Side Hooks or Ends: gloves, cords, accessories
Label each section if multiple people are using the wall. (For example: “Dad’s ski gear,” “Kids’ sports,” “Tools & Yard.”)
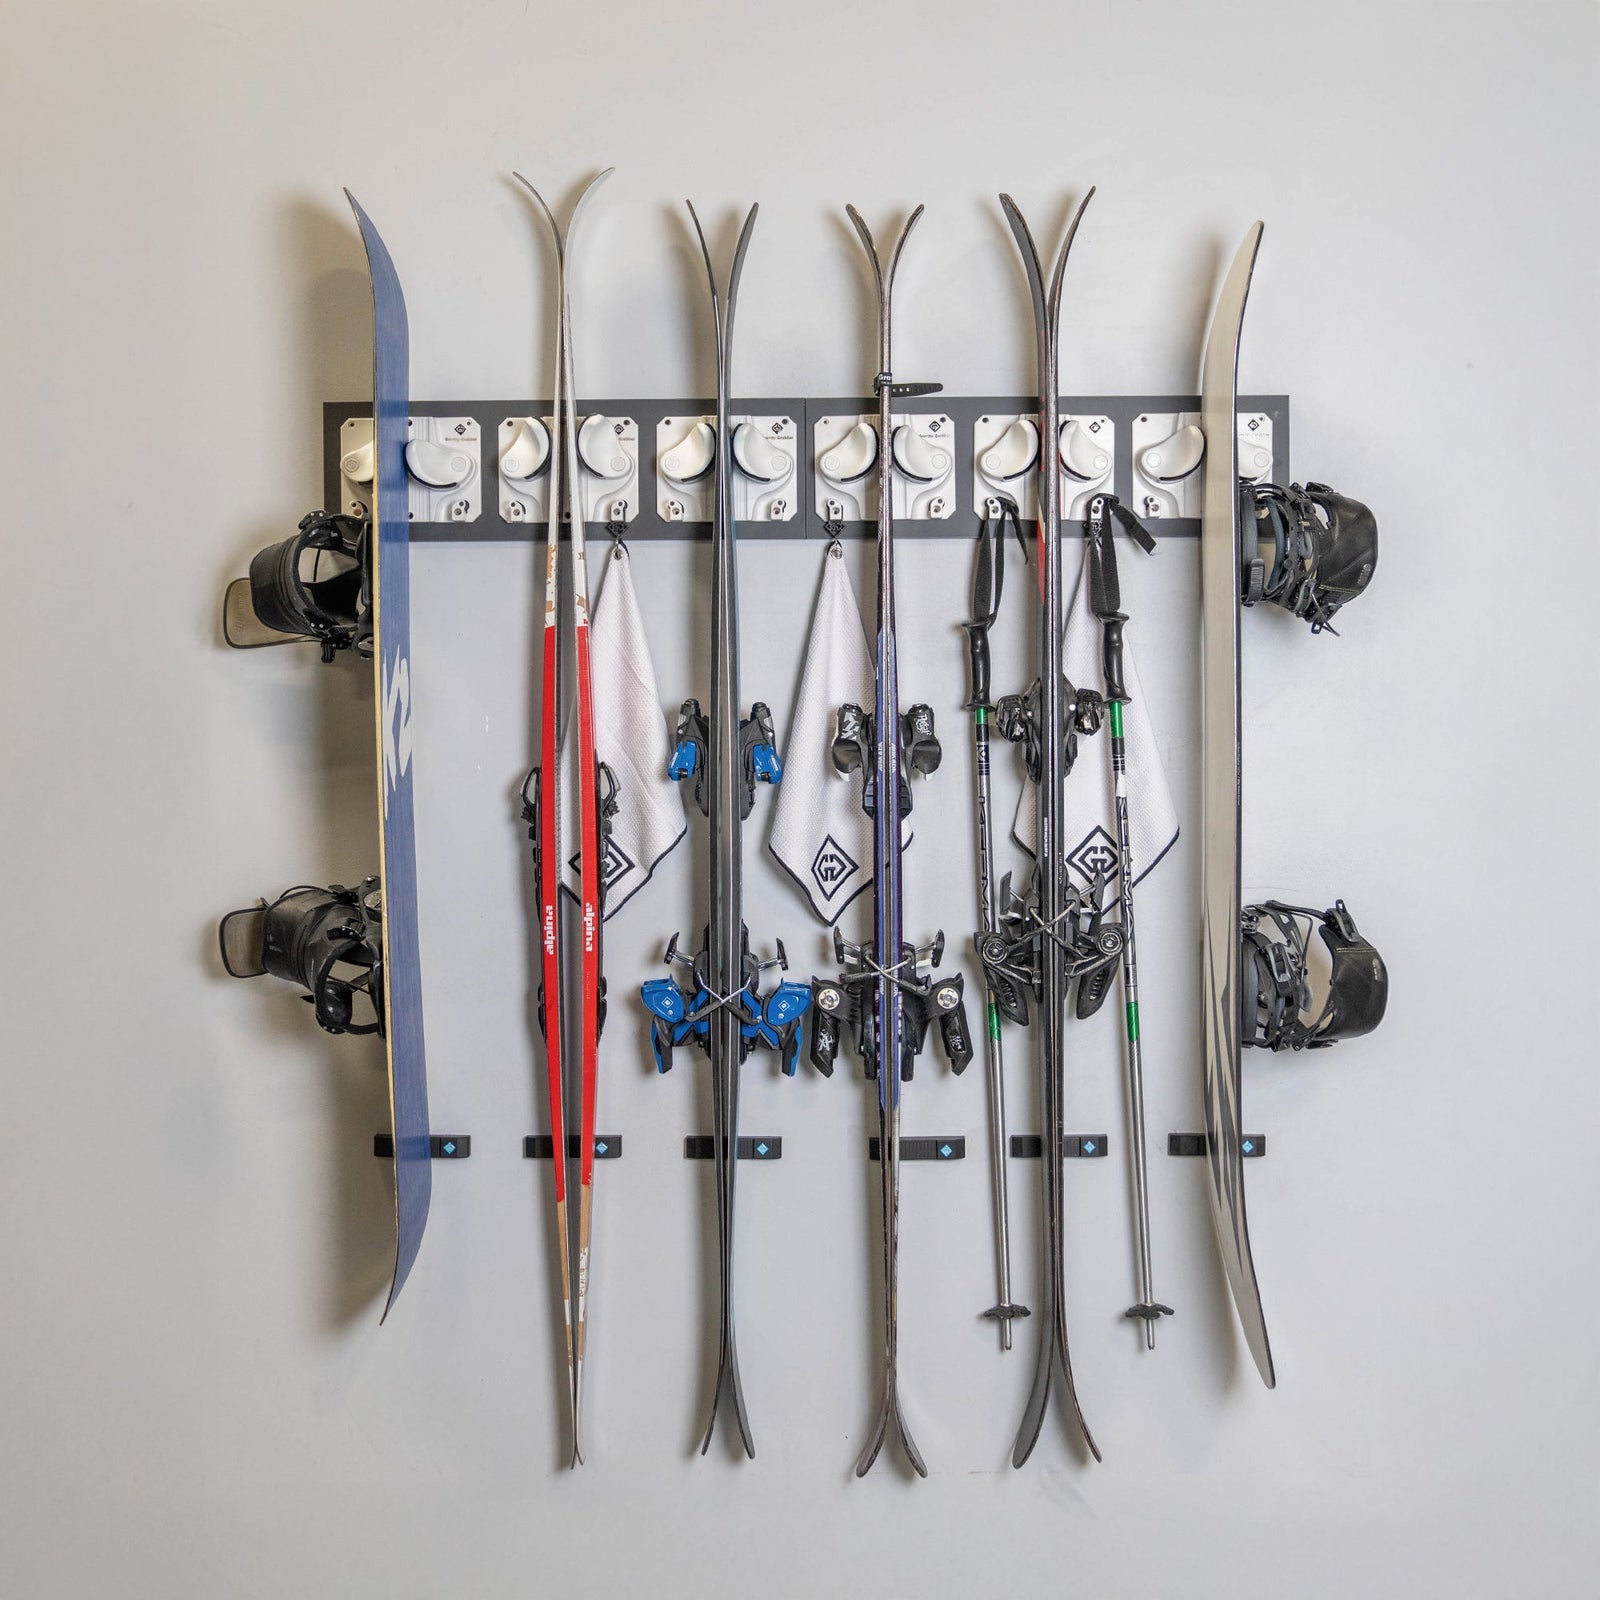
Step 4: Use Modular Storage Like Gravity Grabber
A flexible, wall-mounted system is essential for a gear wall that grows with your needs.
Gravity Grabber is a go-to for gear wall design because:
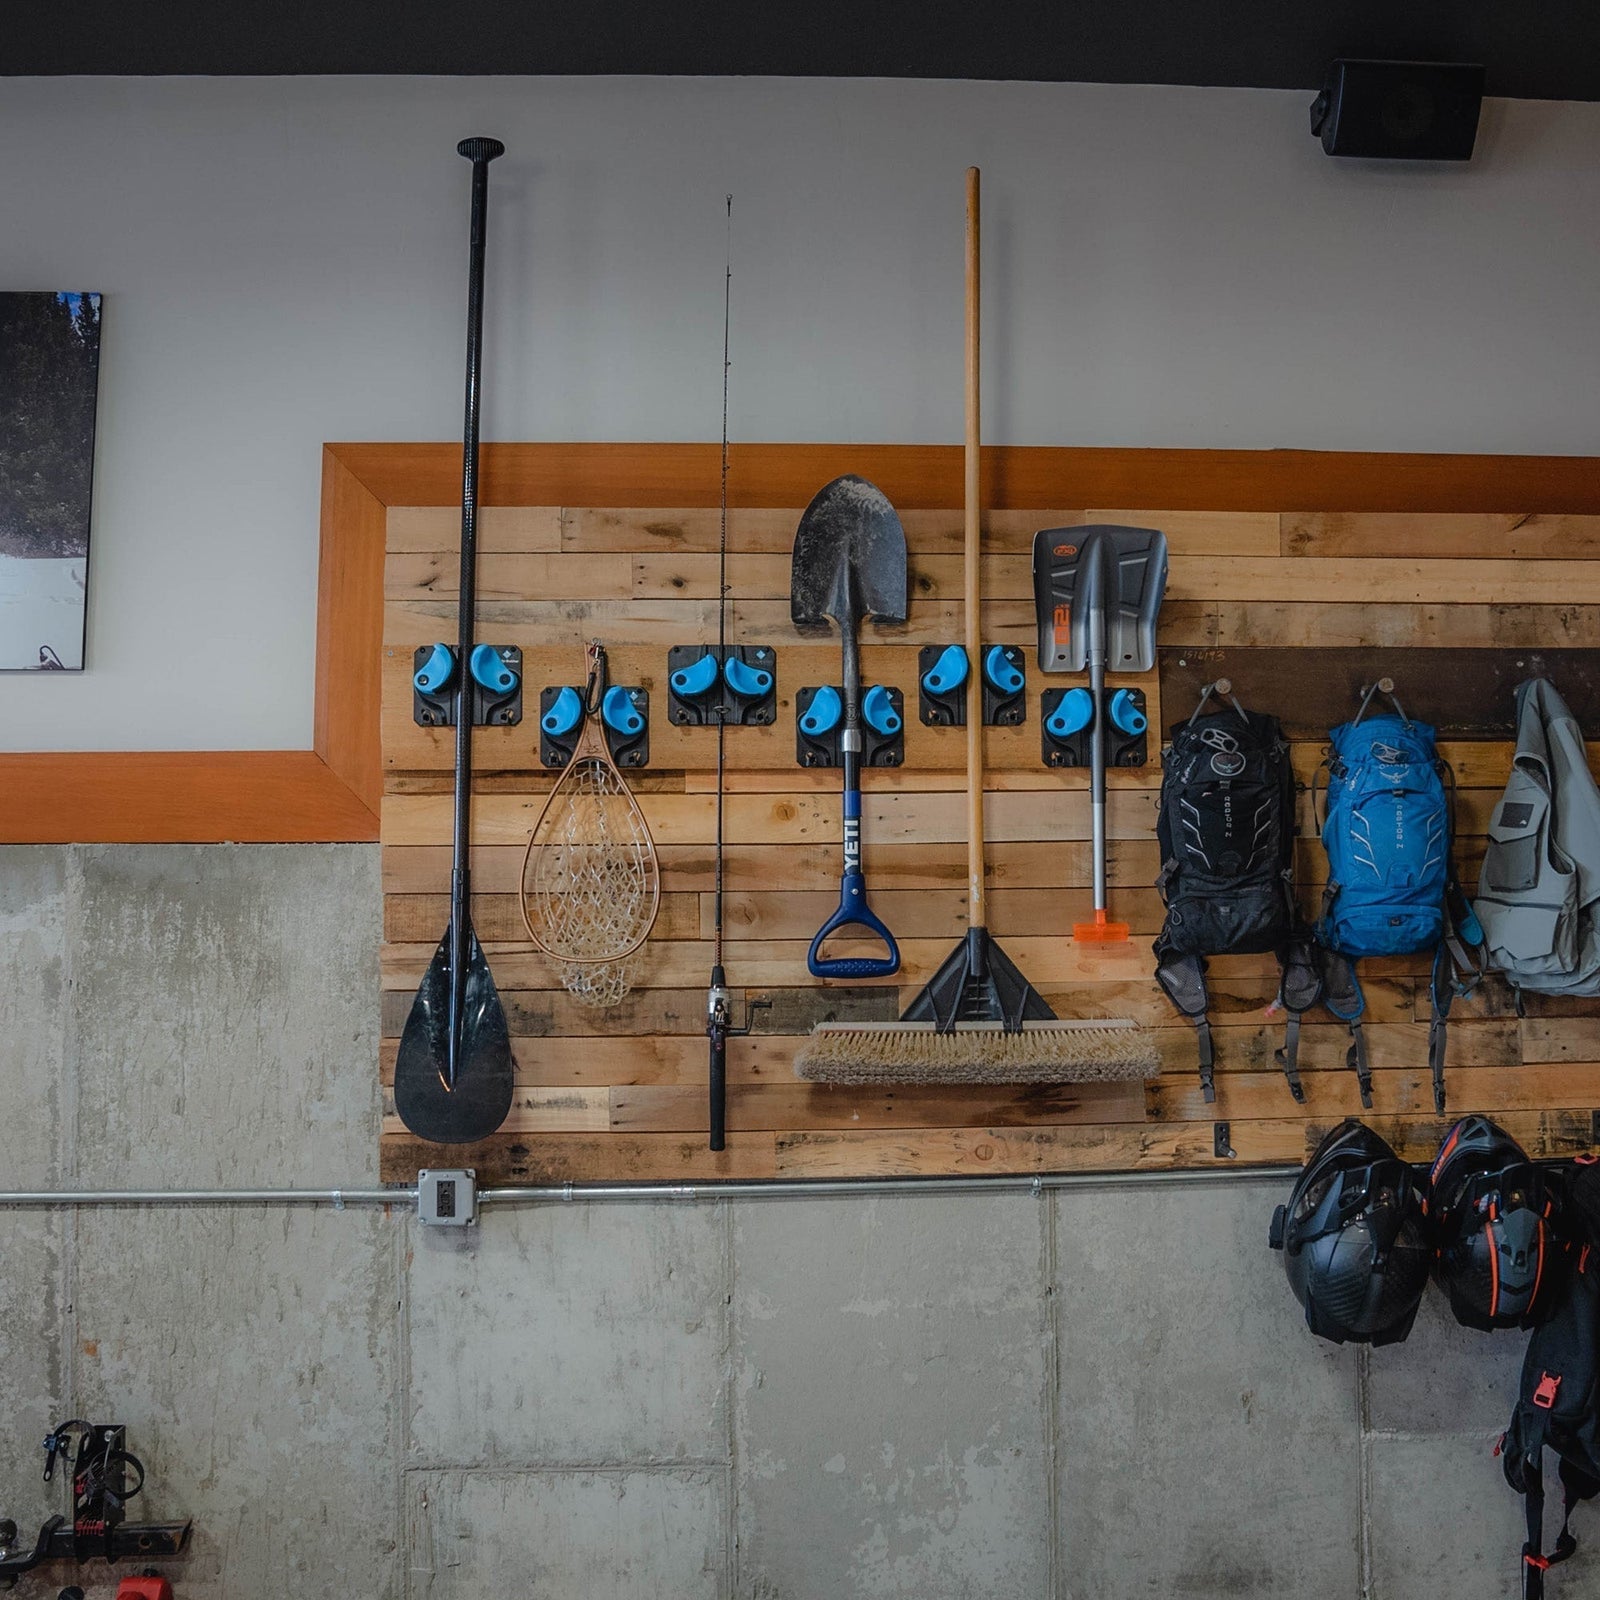
-
It holds gear of various sizes and shapes (skis, paddles, mops, bats)
-
It mounts vertically or horizontally
-
It includes side hooks for accessories
-
It’s modular—add more as your collection grows
It replaces traditional hooks and shelves that only work for one item type and often damage gear over time.
Step 5: Plan Spacing and Mounting Heights
Map out where each item will go:
-
Leave 10–14 inches between mounts for skis and boards
-
Place commonly used items at shoulder height
-
Keep kids’ gear lower for independent access
-
Use a stud finder to securely anchor heavier gear
Mock up your layout on the wall with painter’s tape before installing.
Step 6: Accessorize and Maintain
Once your gear wall is up:
-
Add baskets or bins under the wall for shoes or loose items
-
Install hooks for helmets, towels, or bags
-
Reorganize seasonally to keep in-use gear front and center
Wipe down your gear wall every couple of months to keep it clean and ready.
Smart Gear Walls Save Time and Space
A gear wall isn’t just about storage—it’s about simplifying your life. When everything has a place, you can spend less time searching and more time doing.
With smart zoning, efficient spacing, and adaptable mounts like Gravity Grabber, your garage, shed, or mudroom wall can become the most useful (and best-looking) part of your space.