Providing a little extra space between your gear, making access a bit easier

1. Before drilling, check for electrical, gas, or water lines. Striking can cause injury, fire, or death
2. Confirm the wall or surface can support Gravity Grabbers and your stored gear (~15 lbs)
3. If you're unsure about wall structure or hidden obstructions, consult a professional
4. Do not install the Gravity Grabbers above people, walkways, or workspaces
1. After installation, clear the area of valuables
2. Pick a hanging method and start with it
3. Insert gear using your chosen method
4. Check over 24 hours to make sure gear stays in place
5. If it shifts, try a different method and retest
1. Gear is dry
2. Product has no damage
3. Grabber and arms are level
4. Select the best hanging method
5. Area around Grabber is clear
1) Choose a clear wall away from walkways or workspaces
2) Use the Gravity Grabber to mark screw holes
3) For drywall, use anchors, otherwise, use the provided screws
4) Tug gently to ensure it's secure
5) Load your skis or snowboard and check they're held firmly
1) Choose a clear wall away from walkways or workspaces
2) Use the Gravity Grabber to mark screw holes
3) For drywall, use anchors, otherwise, use the provided screws
4) Tug gently to ensure it's secure
5) Load your skis or snowboard and check they're held firmly
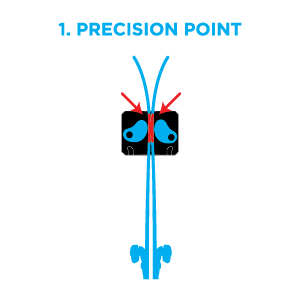
For skis, hang by the precision point where the skis are perfectly touching for maximum grip
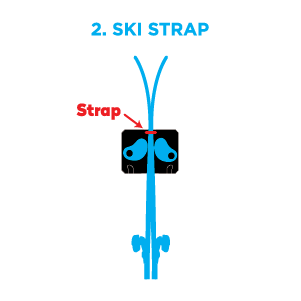
Using a ski strap when hanging your skis, greatly reduces the chances of any movement
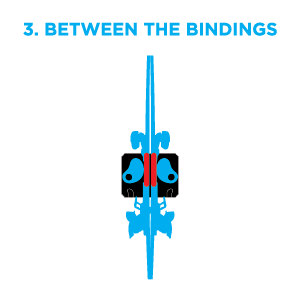
Hanging skis or snowboards with the top binding above Gravity Grabber ensures that no slippage occurs
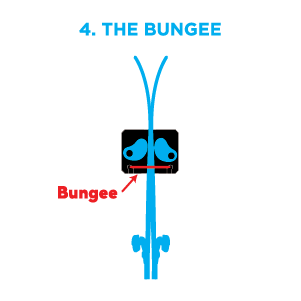
The integrated pole hangers are equipped with holes to easily fasten a bungee to each side and over the gear for maximum security
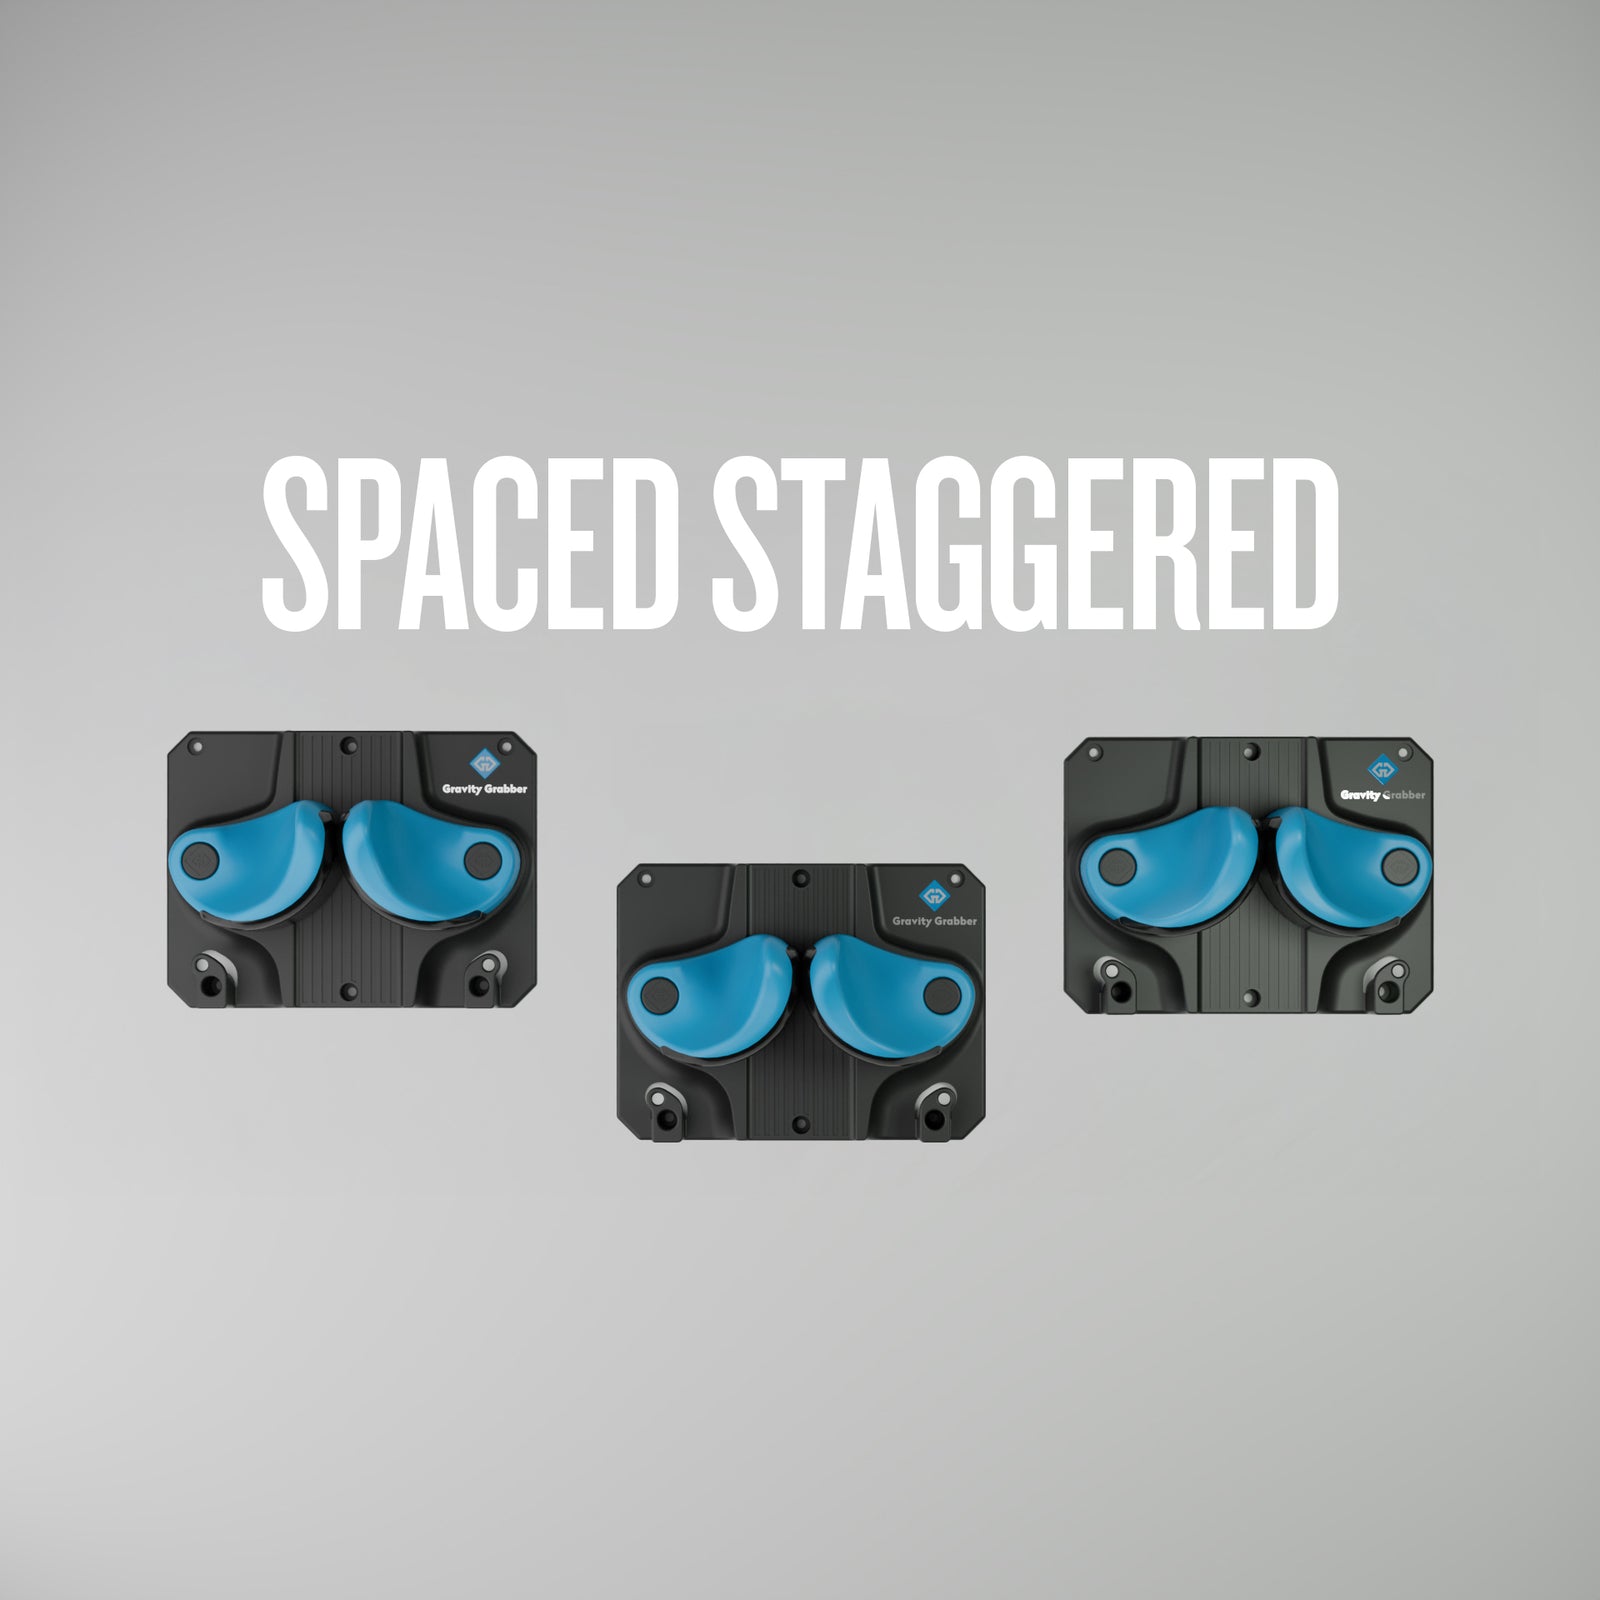
Providing a little extra space between your gear, making access a bit easier
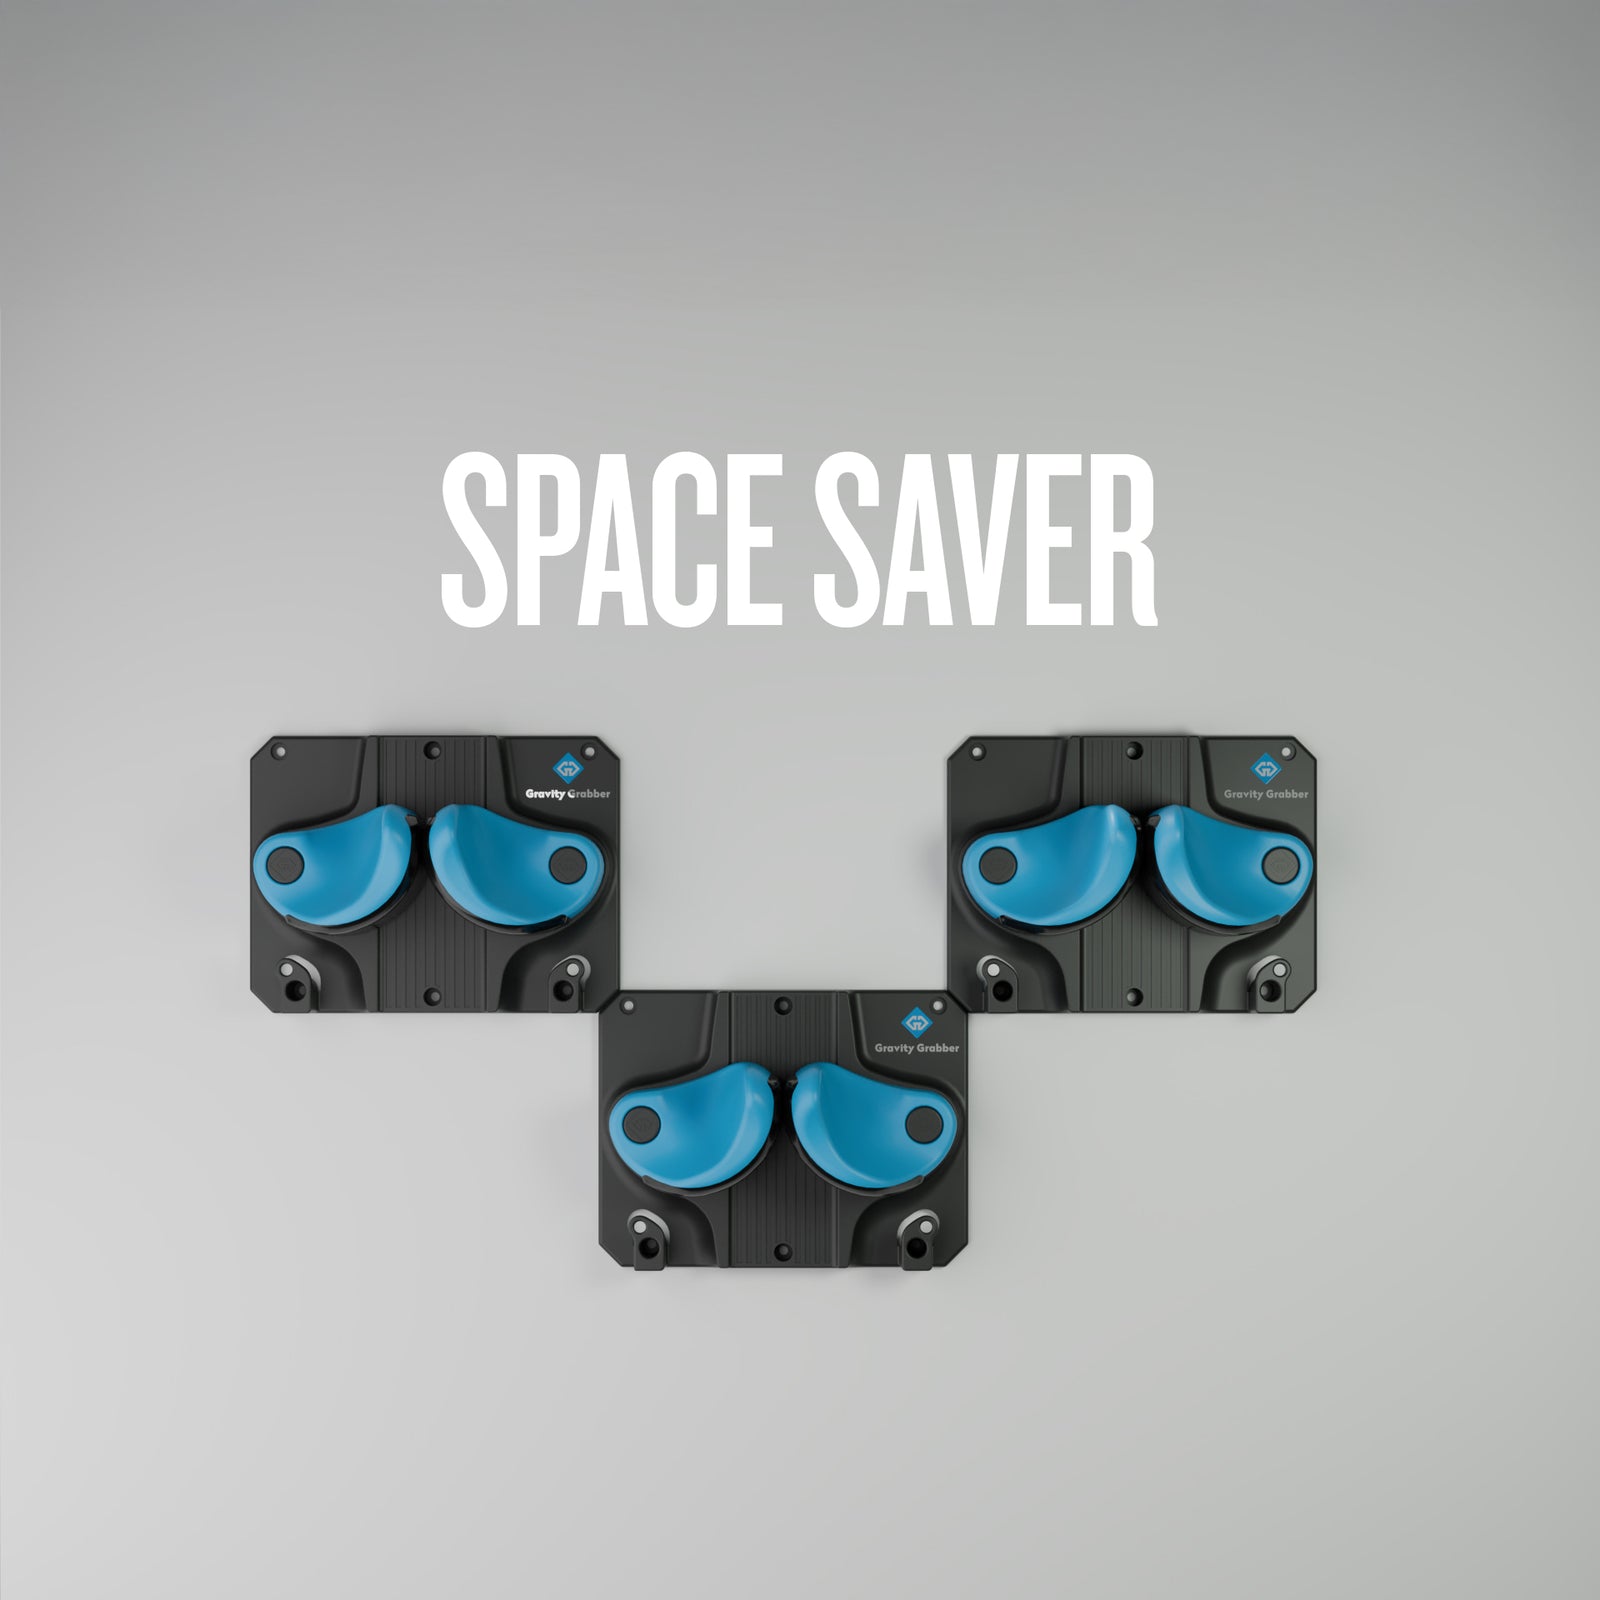
Designed to save space and let you fit your whole quiver in a tight location
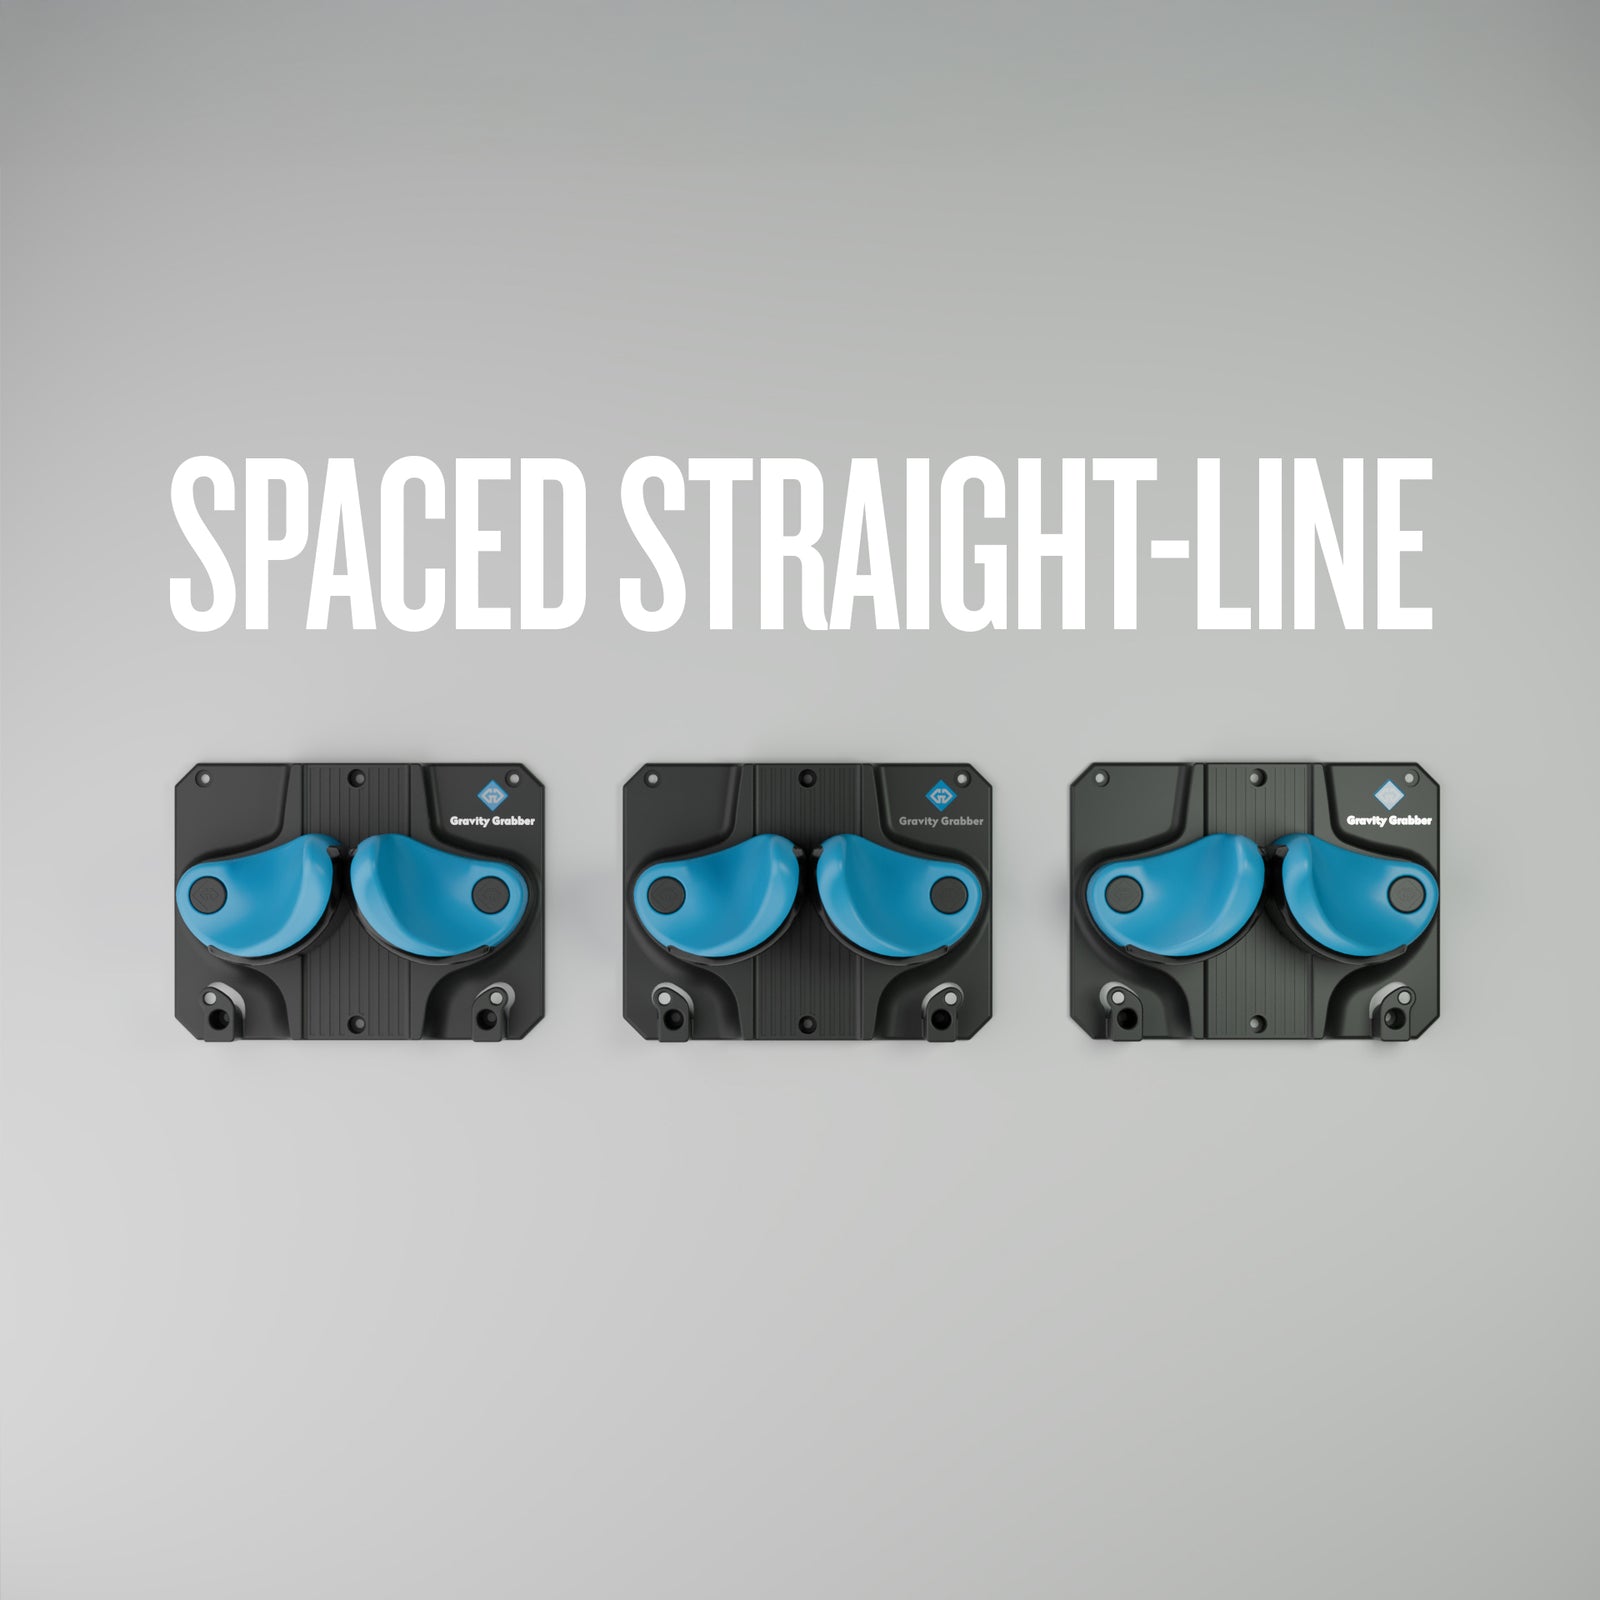
Giving you extra space between your gear, in a straight line
1) Pick a wall spot about 6' high
2) Mount the board using the 2" silver screws
3) Align each Grabber with the board's pre-drilled holes
4) Secure them with the 5/8" screws
5) Tug each Grabber gently to confirm it's secure
1) Pick a wall spot about 6' high
2) Mount the board using the 2" silver screws
3) Align each Grabber with the board's pre-drilled holes
4) Secure them with the 5/8" screws
5) Tug each Grabber gently to confirm it's secure
1) Attach Grab Bar to clean, dry metal surface
2) Securely lean your gear up against the Grab Bar
3) Grab your gear and start shredding
1) Attach Grab Bar to clean, dry metal surface
2) Securely lean your gear up against the Grab Bar
3) Grab your gear and start shredding
Submit a request to our customer service team and we’ll get back to you as soon as possible, usually within one business day.
