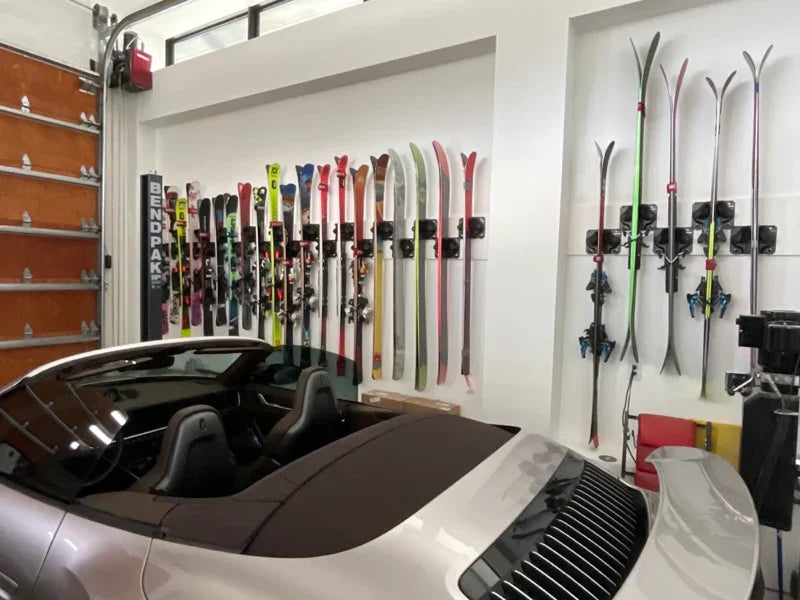
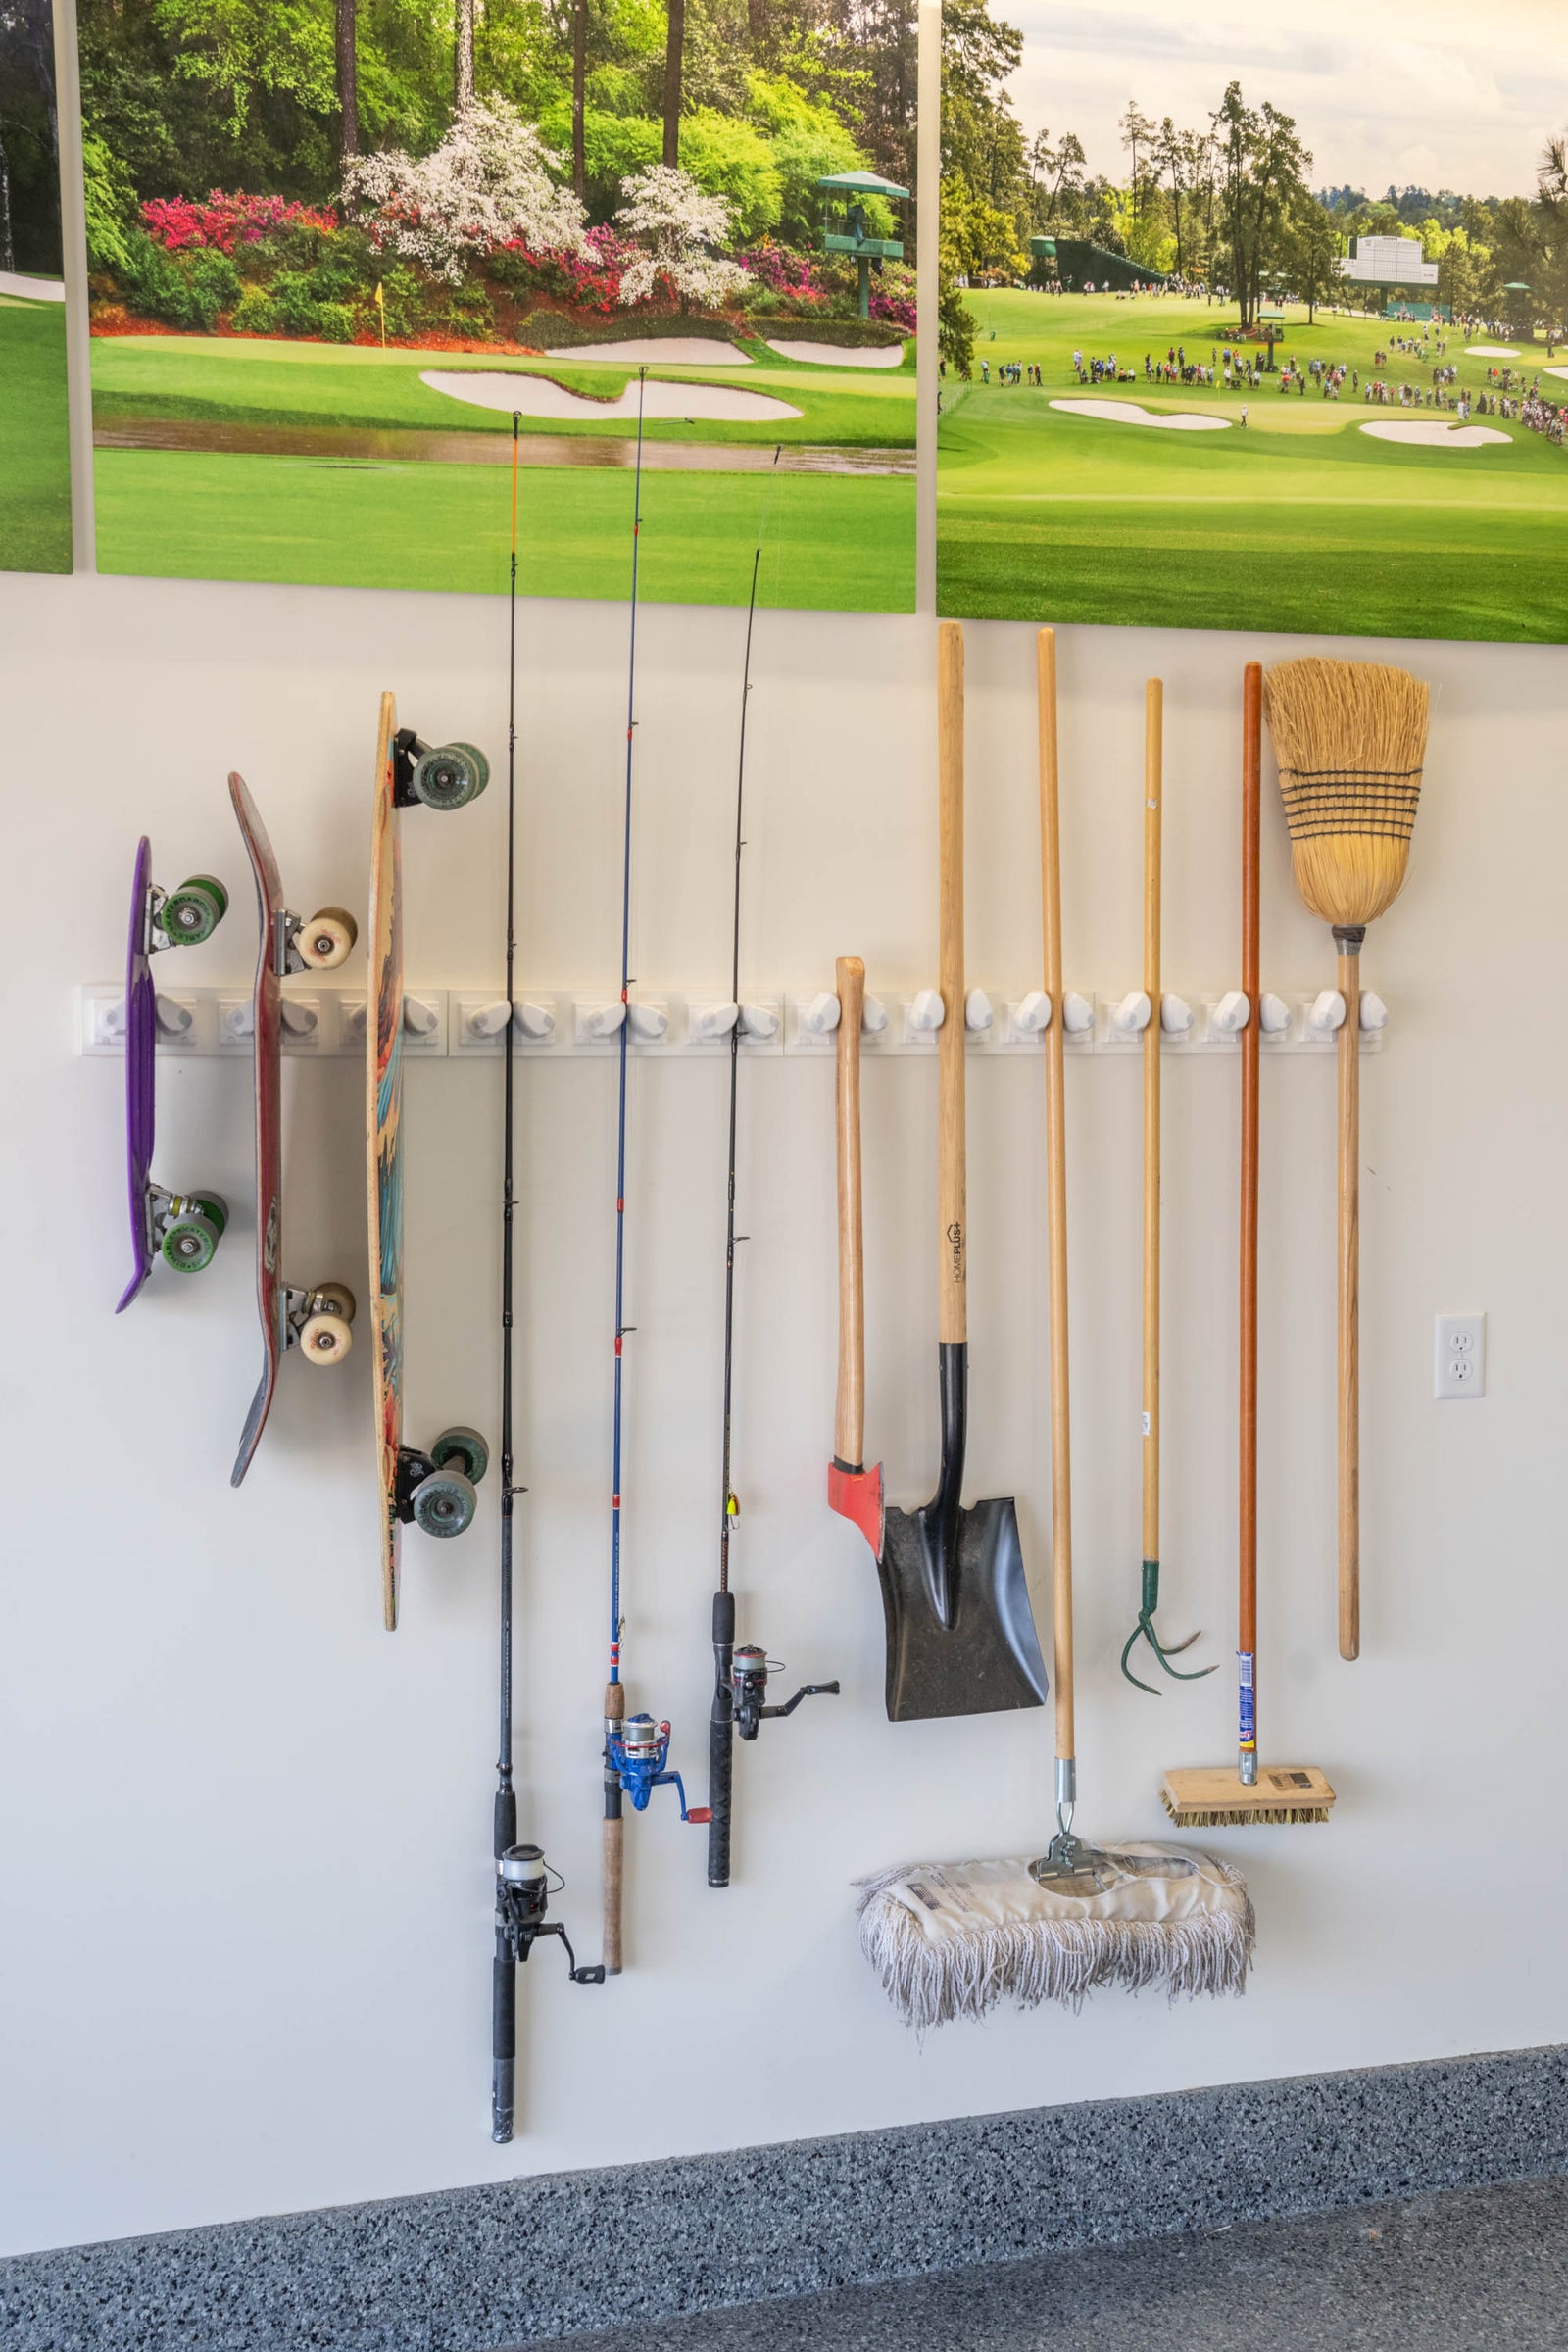
Garages are the catch-all for outdoor gear—but without a plan, your space can quickly turn into a tangle of poles, paddles, tools, and seasonal equipment. Hanging your outdoor gear properly not only saves floor space, but also protects your equipment from damage and keeps it ready for your next adventure.
Here’s how to hang outdoor gear in your garage using smart layout strategies and flexible wall-mounted systems.
Step 1: Identify the Gear You Use Most Often
Start by listing the outdoor gear you access frequently. This often includes:
-
Skis and snowboards (in winter)
-
Shovels, rakes, and garden tools (spring and fall)
-
Paddleboard paddles, fishing rods, and bikes (summer)
-
Skateboards, longboards, scooters, and balls (year-round)
Knowing what you need to store helps determine how much wall space to allocate and where each item should go.
Step 2: Choose the Right Wall Storage Solution
Not all gear hangs easily. Traditional hooks might work for bikes or hoses, but they’re often too rigid or too narrow for items like paddles, lacrosse sticks, mops, or snowboards.
That’s where Gravity Grabber shines. It’s a wall-mounted gear holder with padded cam arms that adjust to grip gear of various sizes and shapes. Unlike hooks that rely on handles or tips, Gravity Grabber holds items at their shaft or edge—making it ideal for:
-
Paddles and poles
-
Skis and snowboards
-
Rakes and shovels
-
Fishing rods and bats
-
Scooters and longboards
This eliminates leaning gear in corners or stacking it in awkward piles.
Step 3: Use Vertical Space Effectively
Mount your outdoor gear vertically whenever possible to make the most of your wall height. Gravity Grabber can be installed in a stacked format, side-by-side layout, or mix of both depending on your available space.
Best practices for vertical storage:
-
Hang longer items like rakes or skis at the bottom
-
Mount frequently used gear at shoulder height
-
Leave room between mounts for easy access
By going vertical, you free up floor space for bikes, totes, or workspace areas.
Step 4: Group Gear by Season or Activity
To keep things intuitive, organize your garage wall by season or function.
Examples:
-
A “Winter Wall” with snowboards, skis, and poles
-
A “Water Gear Wall” with paddles, rods, and life vests
-
A “Yard Tools Wall” with brooms, rakes, and weed trimmers
Gravity Grabber makes it easy to move gear around as seasons change without re-drilling or buying new mounts.
Step 5: Make Room for Accessories
Don’t forget smaller outdoor essentials—gloves, goggles, cords, and straps. Gravity Grabber includes built-in side hooks that can hang:
-
Pole straps or paddle leashes
-
Garden gloves or goggles
-
Coats, cords, or small packs
This turns one wall into a complete outdoor gear station.
Why Gravity Grabber Beats Traditional Hooks
Traditional storage hooks:
-
Can only hold specific items
-
Often require bulky brackets or slat walls
-
Can damage soft gear or grips
Gravity Grabber:
-
Holds dozens of item types securely
-
Installs directly into studs or drywall
-
Looks clean and modern
-
Expands with your gear over time
It’s the only solution designed to adapt with the way you use your garage.
Final Tip: Keep It Flexible
Your outdoor gear will evolve—and your wall system should, too. Use modular storage like Gravity Grabber to create a flexible garage wall that adapts with your life, your sports, and your storage needs.


