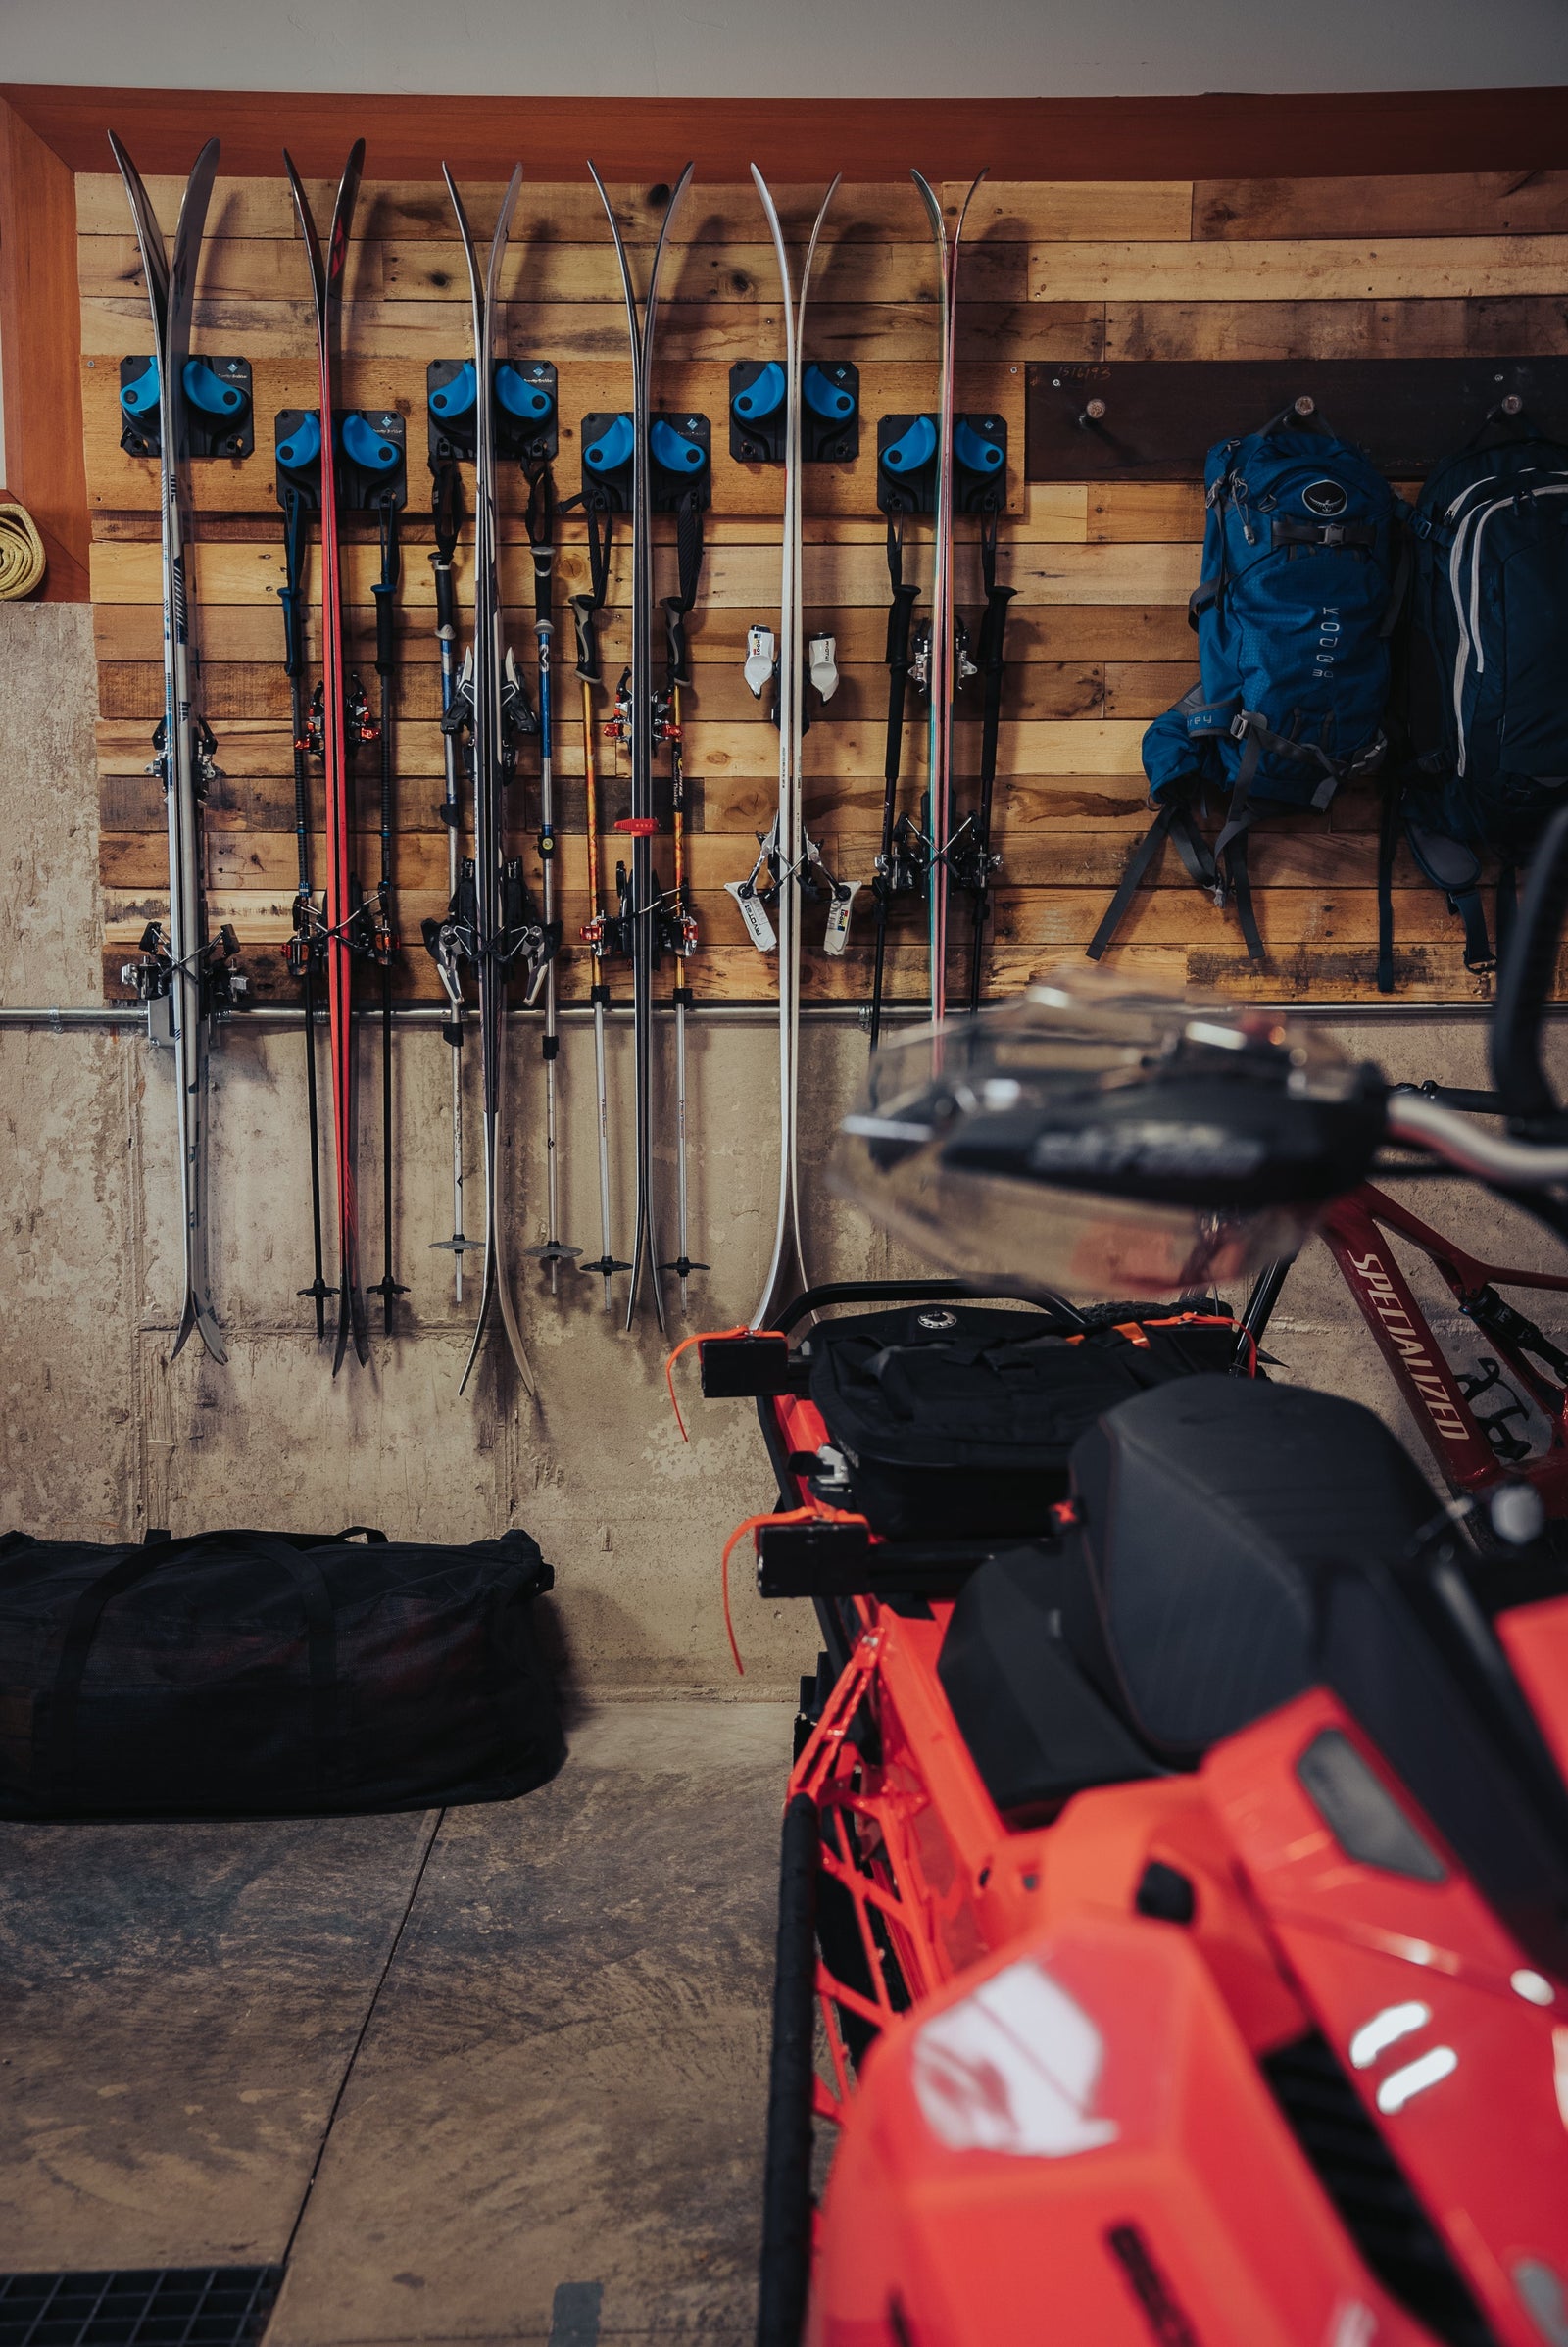
Your garage wall has more potential than you think. Whether you're storing tools, sports gear, or seasonal equipment, a smart wall layout transforms cluttered chaos into clean, accessible organization. The key is to design a layout that adapts—not just for today’s gear, but for every season, project, and lifestyle change ahead.
Below are expert-approved garage wall layout ideas, with a spotlight on modular systems like Gravity Grabber that help make it all happen.
Start With Zones, Not Just Stuff
A garage wall isn’t just a place to hang tools. It's prime real estate that should be divided into purpose-driven zones. Organize each wall—or section of wall—based on category or function, not item type alone.
Examples of garage wall zones:
-
Sports & Outdoor Gear Wall: skateboards, skis, snowboards, paddles, fishing rods
-
Tool Wall: shovels, rakes, power wash wands, ladders, tool bags
-
Cleaning Wall: mops, brooms, extension cords, utility hooks
-
Seasonal Storage Wall: snow gear in winter, garden gear in spring
By assigning zones first, your layout stays intuitive year-round—even as gear rotates.
Use Vertical Layouts to Free Up Floor Space
The most efficient garage layouts use wall height. Rather than letting gear pile up on the floor or lean in corners, install mounts that allow items to hang securely, vertically or horizontally.
Gravity Grabber is ideal for vertical wall layouts because:
-
It mounts flush to the wall and takes minimal space
-
It stores items by the shaft, not by a hook or tip
-
It works for dozens of items across seasons
-
It’s modular, meaning you can stack or align them as your layout grows
Mount 2–3 units side by side for wider items like snowboards or paddles. Stack 3–5 vertically for rakes, bats, shovels, or poles. The result is a streamlined wall that’s organized from floor to ceiling.
Leave Clearance Around High-Use Areas
Plan your layout around how you move through the garage. Leave space near:
-
Doors for entry/exit flow
-
Workbenches for tool access
-
Vehicle zones for opening car doors or hatches
Avoid placing gear too low or directly behind parking spots. Gravity Grabber's flexible positioning lets you install racks at varying heights so gear fits around outlets, windows, or other fixed objects.
Make It Modular (So You Can Change It Later)
One of the biggest mistakes homeowners make with garage layouts is over-committing to bulky shelves, immovable cabinets, or single-use mounts. These lock you into one setup—even if your gear changes.
Gravity Grabber gives you freedom to evolve your wall system:
-
Add more mounts when you get new gear
-
Rearrange them without tearing up the wall
-
Use the same mounts for different purposes over time
One season, they’re holding skis and poles. The next, fishing rods and garden tools. Same wall, same layout—different gear.
Bonus Tips for Clean Layout Execution
-
Use a level and tape measure to pre-plan spacing between racks
-
Install in stud locations for heavier gear
-
Group by function, then by size for the cleanest look
-
Label sections if sharing with family (e.g. “Kids’ gear” or “Lawn tools”)
Smarter Walls Mean Smarter Garages
The best garage wall layout is one that works with your gear, not against it. Systems like Gravity Grabber allow you to reclaim wall space, protect your equipment, and keep your garage clean for every season and activity.
Whether you're organizing winter skis, spring rakes, or summer paddles, a flexible wall system is the foundation of any smart garage.


